
How to Import Bank Statement Data Into QuickBooks and Xero: A Complete Step-by-Step Guide
Learn how to extract clean transaction data from PDF bank statements and import it directly into QuickBooks or Xero. Step-by-step format guides, mapping rules, and a monthly workflow.
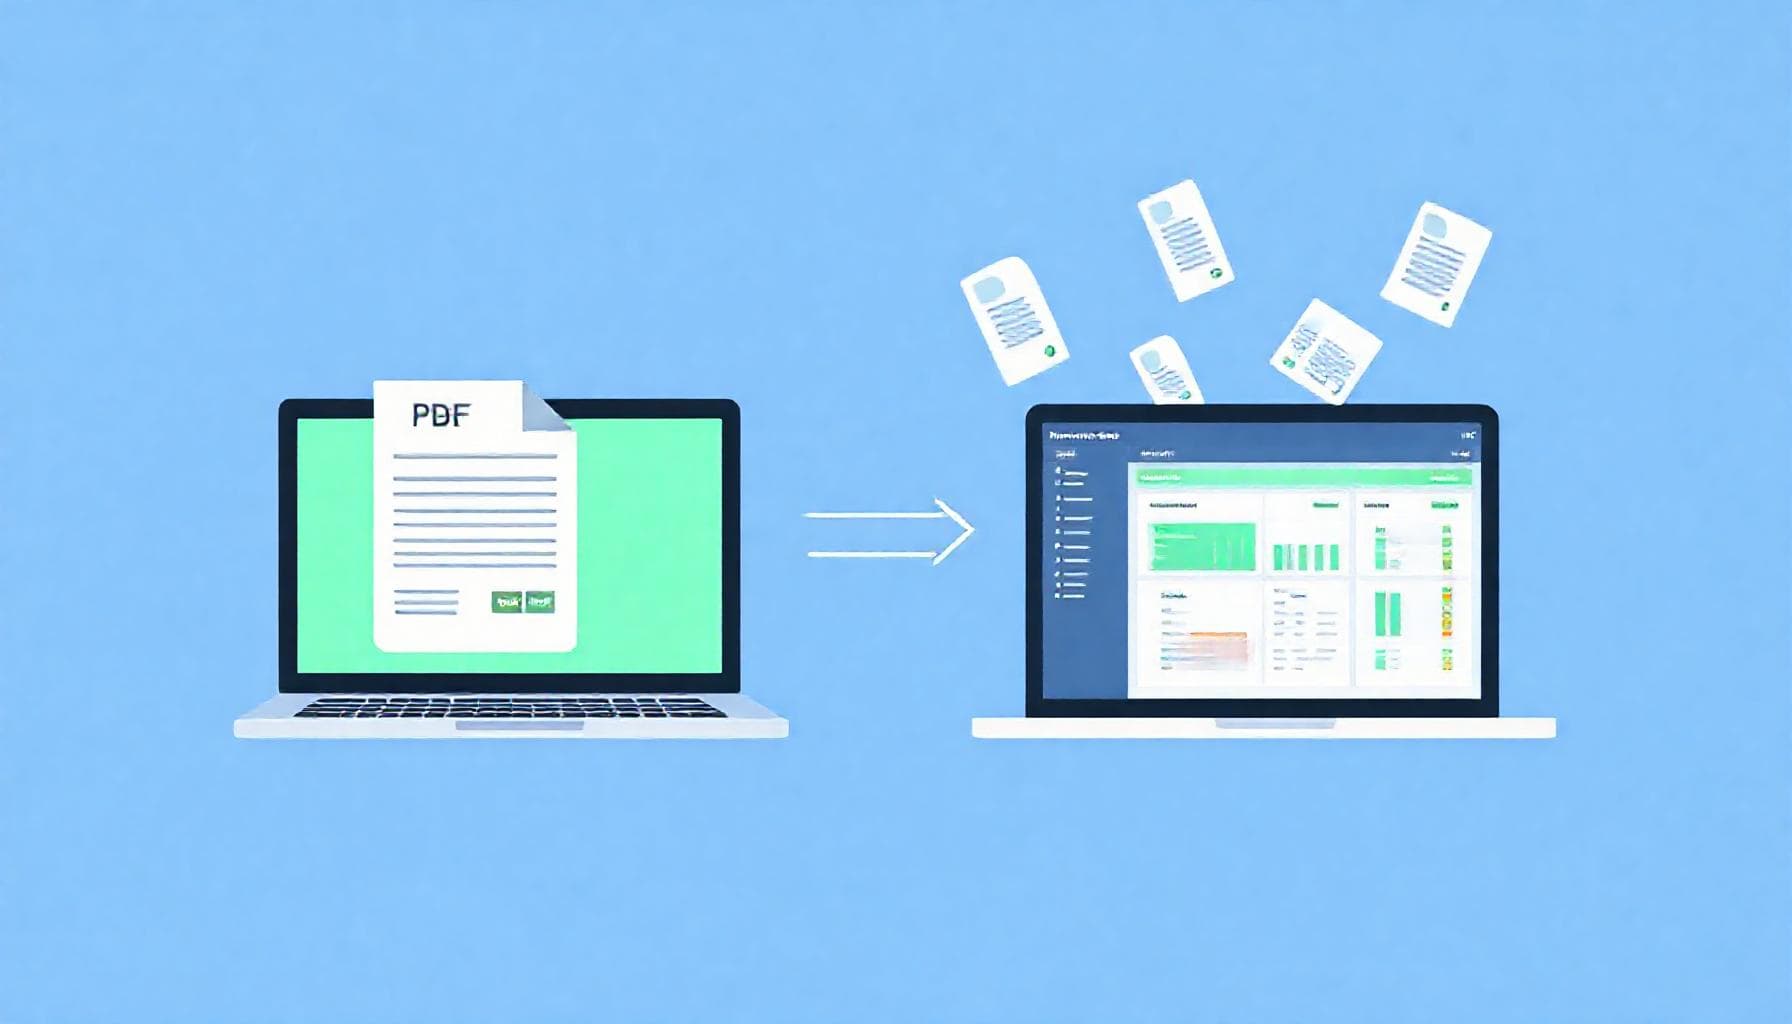
How to Import Bank Statement Data Into QuickBooks and Xero: A Complete Step-by-Step Guide
If you're a small business owner, freelancer, or bookkeeper, you already know the drill: download your bank statement as a PDF, stare at the columns, and start manually typing transactions into QuickBooks or Xero. It's tedious, error-prone, and it eats hours you could spend on actual business decisions.
The better approach? Extract clean transaction data from your PDF bank statements first, then import that structured data directly into your accounting software. This guide walks you through the exact workflow — from PDF to QuickBooks or Xero — with specific file formats, mapping rules, and validation steps that save you from importing garbage data.
Why Importing Structured Bank Statement Data Beats Manual Entry
Manual data entry introduces three problems that compound over time:
Human error. Even at 99% accuracy, manually entering 200 transactions per month means two mistakes every month — wrong amounts, transposed dates, or categories that don't match. Those errors snowball during reconciliation.
Time waste. The average small business owner spends 2-3 hours per month manually entering bank transactions. Over a year, that's a full work week spent copying numbers from one place to another.
Audit headaches. When every transaction is hand-typed, there's no data trail. If a discrepancy appears months later, you can't trace where the error came from — was it a typo, a bank error, or a genuine transaction you missed?
Importing structured data from your bank statements eliminates all three. The extraction software becomes your source of truth, and you only need to verify the import mapping once. If you need a refresher on bank statement reconciliation in Excel, we have a complete guide on that workflow as well.
Step 1: Extract Clean Data From Your PDF Bank Statement
Before you import anything into QuickBooks or Xero, you need clean transaction data. Here's what "clean" means for an accounting import:
- Consistent headers: Date, Description, Amount, Balance (in that order or mapped correctly)
- Proper formatting: Dates in ISO format (YYYY-MM-DD) or your accounting software's preferred regional format
- Clean amounts: No currency symbols, no parentheses for negatives — use minus signs
- Description hygiene: No line breaks within a single transaction's description
This is where ParseMyStatement comes in. Upload your PDF bank statement, and it extracts every transaction into structured CSV or Excel format with 99%+ accuracy. You get a clean file ready for import — no manual cleanup required.
Step 2: Choose the Right Import Format
QuickBooks and Xero accept different import formats, and choosing the wrong one is the most common reason imports fail.
For QuickBooks (Desktop and Online)
| Format | Use Case |
|---|---|
| CSV (Comma Separated Values) | Best for bulk transaction imports via the web interface |
| QBO (QuickBooks Online) | Direct import through bank feeds or WebConnect |
| IIF (Intuit Interchange Format) | Legacy format for QuickBooks Desktop — use with caution |
| Excel (XLSX) | Works for manual import in QuickBooks Online |
If you're using QuickBooks Online, CSV is the most reliable format. QuickBooks expects a specific column order and header naming. Here's the standard format QuickBooks Online accepts:
Date,Name,Amount,Memo
2026-01-15,Starbucks,-5.75,Morning coffee meeting
2026-01-15,Freelance Payment Inc,2500.00,Invoice #1042
The Name column maps to your payee/customer list. QuickBooks matches it against existing names or creates new ones.
For Xero
| Format | Use Case |
|---|---|
| CSV | Most common — Xero's bank import accepts CSV with specific headers |
| QIF (Quicken Interchange Format) | Legacy format, still supported for basic imports |
| OFX/QFX (Open Financial Exchange) | Direct bank feed format — only works through financial institution connections |
For Xero CSV imports, use this header structure:
Date,Amount,Payee,Description,Reference
15/01/2026,-5.75,Starbucks,Coffee meeting,CC-1234
15/01/2026,2500.00,Freelance Payment Inc,Invoice payment,INV-1042
Xero automatically matches payee names against your contact list and categorizes based on default rules you've set up.
Step 3: Map Transaction Data to Your Chart of Accounts
This is where most imports go sideways. Your transaction data has no inherent "category" — it's just amounts with descriptions. You need to map those transactions to accounts in your chart of accounts.
The two mapping strategies:
Strategy A: Description-Based Rules (Best for Recurring Transactions)
Create rules in QuickBooks or Xero that automatically categorize transactions based on keywords in the description:
- "Starbucks" → Meals & Entertainment
- "Adobe" → Software & Subscriptions
- "FREELANCE PAYMENT" → Income - Services
- "RENT" → Rent Expense
This works well when you have predictable monthly transactions. Most accounting software supports rule creation right in the bank import screen.
Strategy B: Category Columns (Best for Varied Transactions)
Add a category column to your CSV before importing:
Date,Amount,Description,Category
2026-01-15,-5.75,Starbucks - morning coffee,Meals & Entertainment
2026-01-16,-99.00,Adobe Creative Cloud Subscription,Software & Subscriptions
This gives you direct control but requires you to categorize before import. For businesses with many unique transactions, this is worth the upfront time investment.
Pro tip: Use ParseMyStatement to extract your statements, export to CSV, add your category column, then import. The extraction step is automated — you only do the categorization.
Step 4: Import Into QuickBooks Online
Here's the exact workflow for QuickBooks Online:
- Go to Banking → Bank Transactions
- Click Upload (the paperclip icon)
- Select your CSV file
- Map columns: QuickBooks will try to auto-detect Date, Amount, Description. Verify the mapping is correct.
- Add to register: QuickBooks adds the transactions to the "For Review" tab where you can categorize each one.
What to watch for:
- QuickBooks treats CSV imported transactions as "manually added" — they won't match against bank feeds. If you also have a bank feed connection, you'll see duplicates.
- If importing into a real bank feed account, QuickBooks error with "transactions already exist" — import into a placeholder account and transfer.
Step 5: Import Into Xero
Xero's import process is more forgiving:
- Go to Accounting → Bank Accounts → [Your Account]
- Click Import a Statement
- Select your CSV file
- Xero auto-maps fields — verify Date, Amount, Description, and Payee
- Click Import
Xero automatically matches imported transactions against existing ones to prevent duplicates. It also runs your bank rules to auto-categorize.
Common Import Errors and How to Fix Them
"Date format not recognized"
Problem: Your CSV has dates in M/D/YYYY format, but your accounting software expects DD/MM/YYYY (or vice versa).
Fix: Reformat all dates in your extraction tool before exporting. ParseMyStatement lets you choose date format in the export settings.
"Amount column contains invalid characters"
Problem: Dollar signs, commas in numbers ($1,234.56), or parentheses for negative amounts.
Fix: Export with "clean amounts" enabled — no symbols, dot as decimal separator, and minus sign for negatives.
"Description truncated"
Problem: Long transaction descriptions get cut off at 200 characters.
Fix: Pre-process descriptions to remove redundant information (like "PURCHASE AUTHORIZED ON 01/15" prefixes that every transaction has). Keep only the meaningful merchant/description.
"Account mismatch"
Problem: You exported to a savings account CSV but are importing into a checking account in your accounting software.
Fix: Create a separate import for each account. Never mix transactions from different bank accounts in one import file.
Building a Monthly Import Workflow
The real power of bank statement data integration comes when you build a repeatable monthly workflow:
- End of month: Download PDF statements from all bank accounts (15 minutes)
- Extract: Upload all statements to ParseMyStatement — get clean CSV exports (5 minutes)
- Map: Add category columns or run against your existing rules (10-20 minutes)
- Import: Upload CSV to QuickBooks or Xero (5 minutes per account)
- Review: Approve matched transactions, resolve exceptions (15 minutes)
- Reconcile: Confirm ending balances match your bank statements (10 minutes)
Total: 60-90 minutes per month for a business with 2-3 accounts. Compare that to 8-12 hours of manual data entry.
Need to write financial reports or documentation around your automated workflows? Typill can help with AI-powered writing assistance for professional documents.
Ready to automate your bank statement data imports? Upload your PDF statements at parsemystatement.com and get clean CSV exports ready for QuickBooks or Xero in seconds.
Stop retyping bank statements
Convert PDF bank statements to clean CSV, Excel, or JSON in 30 seconds — no signup required to try.
Try ParseMyStatement FreeFAQ
Can I import bank statement CSV directly into QuickBooks Desktop?
Yes. QuickBooks Desktop supports IIF and CSV imports. For IIF, the format is strict — you need TRNS (transaction) and SPL (split) records. Use CSV via the Import Data feature in QuickBooks Desktop for simpler imports.
Does Xero accept QBO files for import?
No. QBO is a QuickBooks-only format. For Xero, use CSV with the proper header structure described in this guide.
Will importing CSV duplicate my bank feed transactions?
Yes, if you import CSV into the same account that has an active bank feed. To avoid this, either disable the bank feed for that account or import into a separate clearing account and move transactions after matching.
How often should I import bank statement data?
Monthly is standard for most small businesses. If you process high transaction volumes (500+ per month), consider weekly imports to keep your books current.
What if my bank statement uses a non-standard format?
ParseMyStatement handles statements from 50+ banks including Chase, Bank of America, Wells Fargo, Citibank, and most regional banks. If your bank isn't supported, the OCR engine still extracts transactions with high accuracy.