
Import Bank Statement Data into QuickBooks: A Step-by-Step Guide
Learn how to convert PDF bank statements and import transaction data into QuickBooks Online and Desktop. Step-by-step guide for small business owners and freelancers.
Import Bank Statement Data into QuickBooks: A Step-by-Step Guide
If you're a small business owner, freelancer, or accountant using QuickBooks, you already know the pain: your bank sends you a PDF statement every month, and somehow you need to get that data into QuickBooks so you can reconcile, categorize, and move on.
Manually typing each transaction into QuickBooks isn't just slow — it's where errors happen. A mistyped decimal, a swapped digit, a missed entry. And if you're working with multiple accounts or months of backlog, manual entry becomes a full-time job.
This guide walks you through the exact process of importing bank statement data into QuickBooks — from converting the PDF to a usable format, to mapping the columns correctly, to verifying the import so your books balance.
Why QuickBooks Doesn't Accept PDF Bank Statements (and What Does)
QuickBooks Online and Desktop both support importing bank transactions from files — but they don't accept PDFs. The formats QuickBooks actually supports are:
- CSV (comma-separated values) — most common, works across all QuickBooks versions
- QBO (QuickBooks Online) — a specific format generated by some banks
- OFX/QFX — financial data exchange formats from supported banks
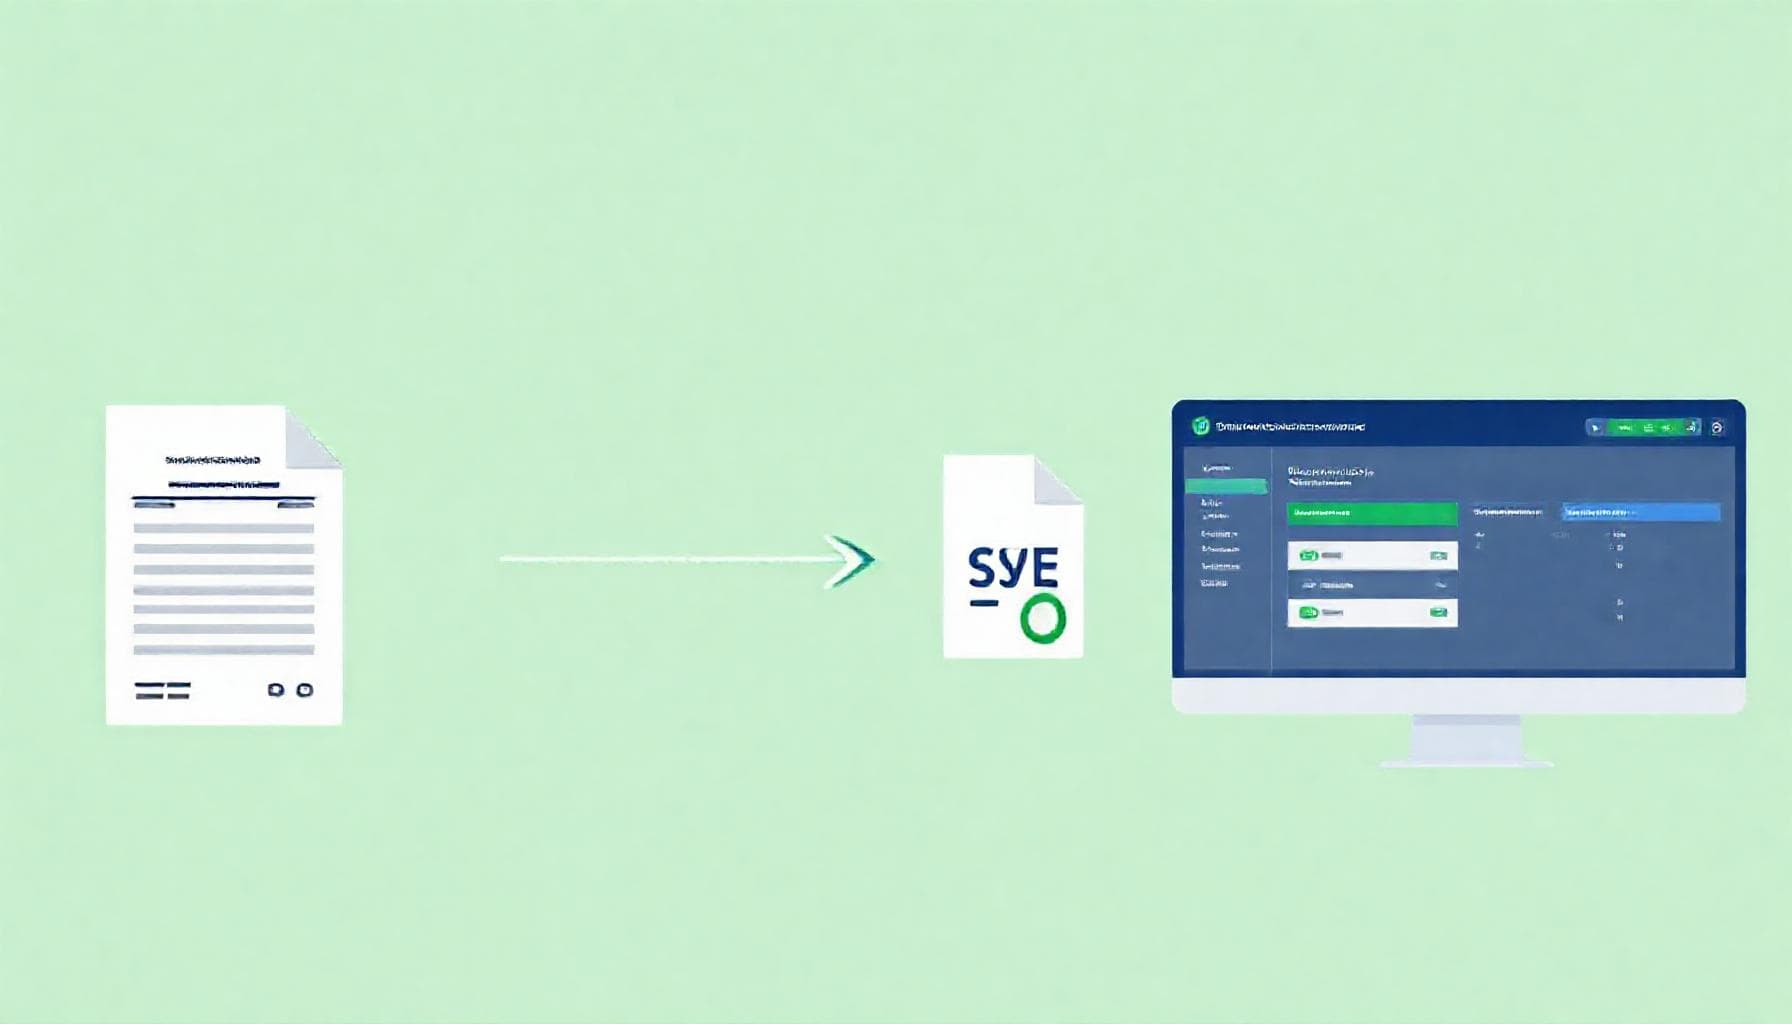
If your bank gives you a PDF statement (which most do), you need a conversion step. Here's the flow:
Bank PDF Statement → CSV/Excel File → Import into QuickBooks → Reconcile
The first step — getting clean, structured data from the PDF — is where most people get stuck. Bank statements come in different layouts. Some have running balances on every line. Others group deposits and withdrawals in separate sections. Some include check images inline. A generic PDF-to-CSV tool will produce garbled output because it doesn't understand statement structure.
A purpose-built bank statement converter like ParseMyStatement handles the layout variations automatically. You upload the PDF, it extracts the transactions as clean CSV or Excel, and you're ready to import.
Step 1: Convert Your Bank Statement PDF to the Right Format
Before you can import, you need a file QuickBooks will accept. For most users, that means CSV.
What a clean CSV looks like for QuickBooks
QuickBooks expects specific columns depending on your import method. The standard format looks like this:
Date,Description,Amount
01/02/2026,Office Supplies - Staples,-45.99
01/03/2026,Client Payment - Acme Corp,1200.00
01/05/2026,Internet Service Provider,-89.99
Three columns: Date, Description, Amount. Debits (expenses) are negative, credits (income) are positive.
Some import methods support additional columns like:
Date,Description,Amount,Category,Payee
01/02/2026,Office Supplies - Staples,-45.99,Office Expenses,Staples
01/03/2026,Client Payment - Acme Corp,1200.00,Services Income,Acme Corp
Converting your PDF
Use a dedicated bank statement PDF to CSV converter. Avoid generic PDF tools — they'll treat your statement as images or raw text and produce unusable output.
ParseMyStatement reads the actual structure of your bank statement: it finds the transaction table, extracts date/description/amount columns, handles multi-page statements, and outputs clean CSV that's ready for QuickBooks.
Step 2: Clean and Validate the Data Before Import
This is the step most people skip — and the one that causes the most headaches later. Before you import into QuickBooks, validate your CSV:
Balance check
Add up all debit amounts and credit amounts separately. The difference between your total debits and credits over the statement period should equal your starting balance minus ending balance (minus any beginning balance carryover).
Duplicate check
QuickBooks will warn about duplicates during import, but catching them early saves time. Look for identical Date+Description+Amount combinations.
Date format
QuickBooks expects dates in MM/DD/YYYY or DD/MM/YYYY depending on your regional settings. Make sure your CSV dates match.
Negative amounts
Expenses must be negative numbers. If your converter outputs them as positive, you'll need to flip the sign column.
Step 3: Import Bank Statement Data into QuickBooks Online
Here's the exact process to import bank statement data into QuickBooks Online (the most common version):
- Go to Transactions → Bank Transactions in the left menu
- Click Link account (if it's a new account) or Upload from file (if you're adding to an existing account)
- Select your CSV file
- QuickBooks will show a preview of the data with column mapping
- Map the columns: Match your CSV columns to QuickBooks fields (Date, Description, Amount)
- Click Import
QuickBooks will flag potential duplicates by matching against existing transactions. Review the flags and confirm.
For QuickBooks Desktop: File → Utilities → Import → CSV. The process is similar but the column mapping interface looks different.
For accounts that are already set up with Bank Feeds in QuickBooks, you can also use the Upload from file option to add transactions that the auto-feed missed.
Step 4: Categorize and Reconcile
After import, your transactions appear in the For review tab in QuickBooks. You'll need to:
- Categorize each transaction to the correct account (Office Expenses, Utilities, Services Income, etc.)
- Add payees if they didn't come through from the CSV
- Match imported transactions against any bank feed transactions that QuickBooks already downloaded
QuickBooks automates some of this with rules. If you regularly buy from Amazon, you can create a rule that auto-categorizes Amazon charges as Office Expenses (or whatever fits your business).
For faster categorization, you can use an automated transaction categorization tool that learns your patterns and pre-labels transactions before they reach QuickBooks.
Reconciling the imported data
Once everything is categorized, go to Accounting → Reconcile and select the account. QuickBooks will show the ending balance from your statement. If everything imported correctly, the difference should be $0.
If it doesn't balance:
- Check for missing transactions (did your PDF include everything?)
- Look for duplicated import rows
- Verify amount signs (negatives vs positives)
Importing into Xero Instead?
If you use Xero instead of QuickBooks, the process is similar but with a few differences in the CSV format:
Xero expects:
*,Date,Amount,Payee,Description,Reference,ChequeNo
*,01/02/2026,-45.99,Staples,Office Supplies,,
The leading * column tells Xero this is a new transaction. Xero also supports a Transaction Type column for more control.
Import in Xero: Accounting → Bank Accounts → Import a statement → Choose CSV file.
Xero's official CSV import guide has the full column specification.
Common Problems and Fixes
| Problem | Cause | Fix |
|---|---|---|
| QuickBooks says "no valid data" | CSV has headers QuickBooks doesn't recognize | Strip headers, keep only Date/Description/Amount |
| Duplicate warnings on every row | You're importing transactions already in the system | Export existing transactions, compare, import only new ones |
| Amounts show as negative when they should be positive | CSV has debits as positive and credits as negative | Flip the sign column in Excel before importing |
| Dates show as 01/00/2026 | Date format mismatch | Format the date column as MM/DD/YYYY in Excel |
| Multi-currency transactions won't import | QuickBooks import only supports one currency per file | Separate multi-currency statements and import by currency |
| Running balance column causing errors | Converter included the balance column | Remove the balance column from your CSV |
Building a Monthly Workflow
The real win isn't doing this once — it's setting up a repeatable monthly process:
- End of month — Download PDF statement from your bank
- Convert — Upload to ParseMyStatement, download CSV
- Validate — Run balance check, fix any issues
- Import — Upload to QuickBooks, map columns
- Categorize — Review and categorize in QuickBooks (or pre-categorize with an automation tool)
- Reconcile — Confirm the account balances
This workflow turns a 2-hour manual data entry session into a 15-minute process. Over a year, that's about 20 hours saved — and the elimination of the data entry errors that inevitably lead to reconciliation headaches down the line.
If you're also preparing financial reports or budgets from your bank statement data, check out our guide on using bank statement data for financial analysis.
Why ParseMyStatement for QuickBooks Imports
Most bank statement converters produce a generic CSV that needs manual cleanup before QuickBooks will accept it. ParseMyStatement is built differently:
- Structure-aware extraction: Reads the actual transaction table from your statement, not raw text
- QuickBooks-ready output: Produces CSV in the format QuickBooks expects (Date, Description, Amount with proper signs)
- Multi-bank support: Works with Chase, Bank of America, Wells Fargo, Citibank, and 100+ other banks
- Multi-page and multi-statement: Handle thick statements and combined files
- 99%+ accuracy: Tested across thousands of statements
Upload a statement and try it — no signup required for the first conversion.
If you need clean data in Excel format (with formulas, formatting, and multi-sheet workbooks), check our comparison of XLSX vs CSV for bank statement exports.
Need to document your bookkeeping workflow or write up reconciliation procedures for your team? An AI writing assistant can help you draft those process docs faster.
Stop retyping bank statements
Convert PDF bank statements to clean CSV, Excel, or JSON in 30 seconds — no signup required to try.
Try ParseMyStatement FreeFAQ
Can QuickBooks import PDF bank statements directly?
No, QuickBooks Online and Desktop do not accept PDF bank statement files directly. They support CSV, QBO, OFX, and QFX formats. You need to convert your PDF bank statement to one of these formats before importing into QuickBooks.
What CSV format does QuickBooks require for bank statement imports?
QuickBooks expects at minimum Date, Description, and Amount columns. Debits (expenses) should be negative numbers and credits (income) should be positive. Additional columns like Category and Payee are optional but can speed up the categorization process after import.
How do I avoid duplicate transactions when importing into QuickBooks?
QuickBooks automatically flags potential duplicates by matching identical Date, Description, and Amount combinations during import. You can also run a duplicate check on your CSV before importing by looking for exact matches in those three fields.
Why does my imported CSV show no valid data in QuickBooks?
This usually means your CSV has headers or columns that QuickBooks does not recognize. Strip any extra headers and keep only the standard columns: Date, Description, and Amount. Make sure amounts use negative signs for debits.